


Start with the real problem
You’re trying to shave ounces without getting soaked, claustrophobic, or wrestling poles at dusk. That’s the choice: carry less or live better. I compare shelters by what they actually change on the trail — weight, setup time, wind behavior, and how they affect sleep. If you want to browse parts and pieces while you think, check camping gear online for context on what’s available and typical price points.

Weight versus liveability
Weight grabs headlines, but pack size and usable interior matter more at camp. Ultralight single-wall shelters often shave a pound or two; great when miles are brutal. But that gain can cost you condensation control and headroom. Compare a 2–3 lb freestanding double-wall to a 1–2 lb single-wall: you trade a little comfort and easier pitching for real-pound savings. Decide which side of that trade you’ll regret at 2 a.m. when it’s raining and you want to sit up.
Freestanding, non-freestanding, or single-wall?
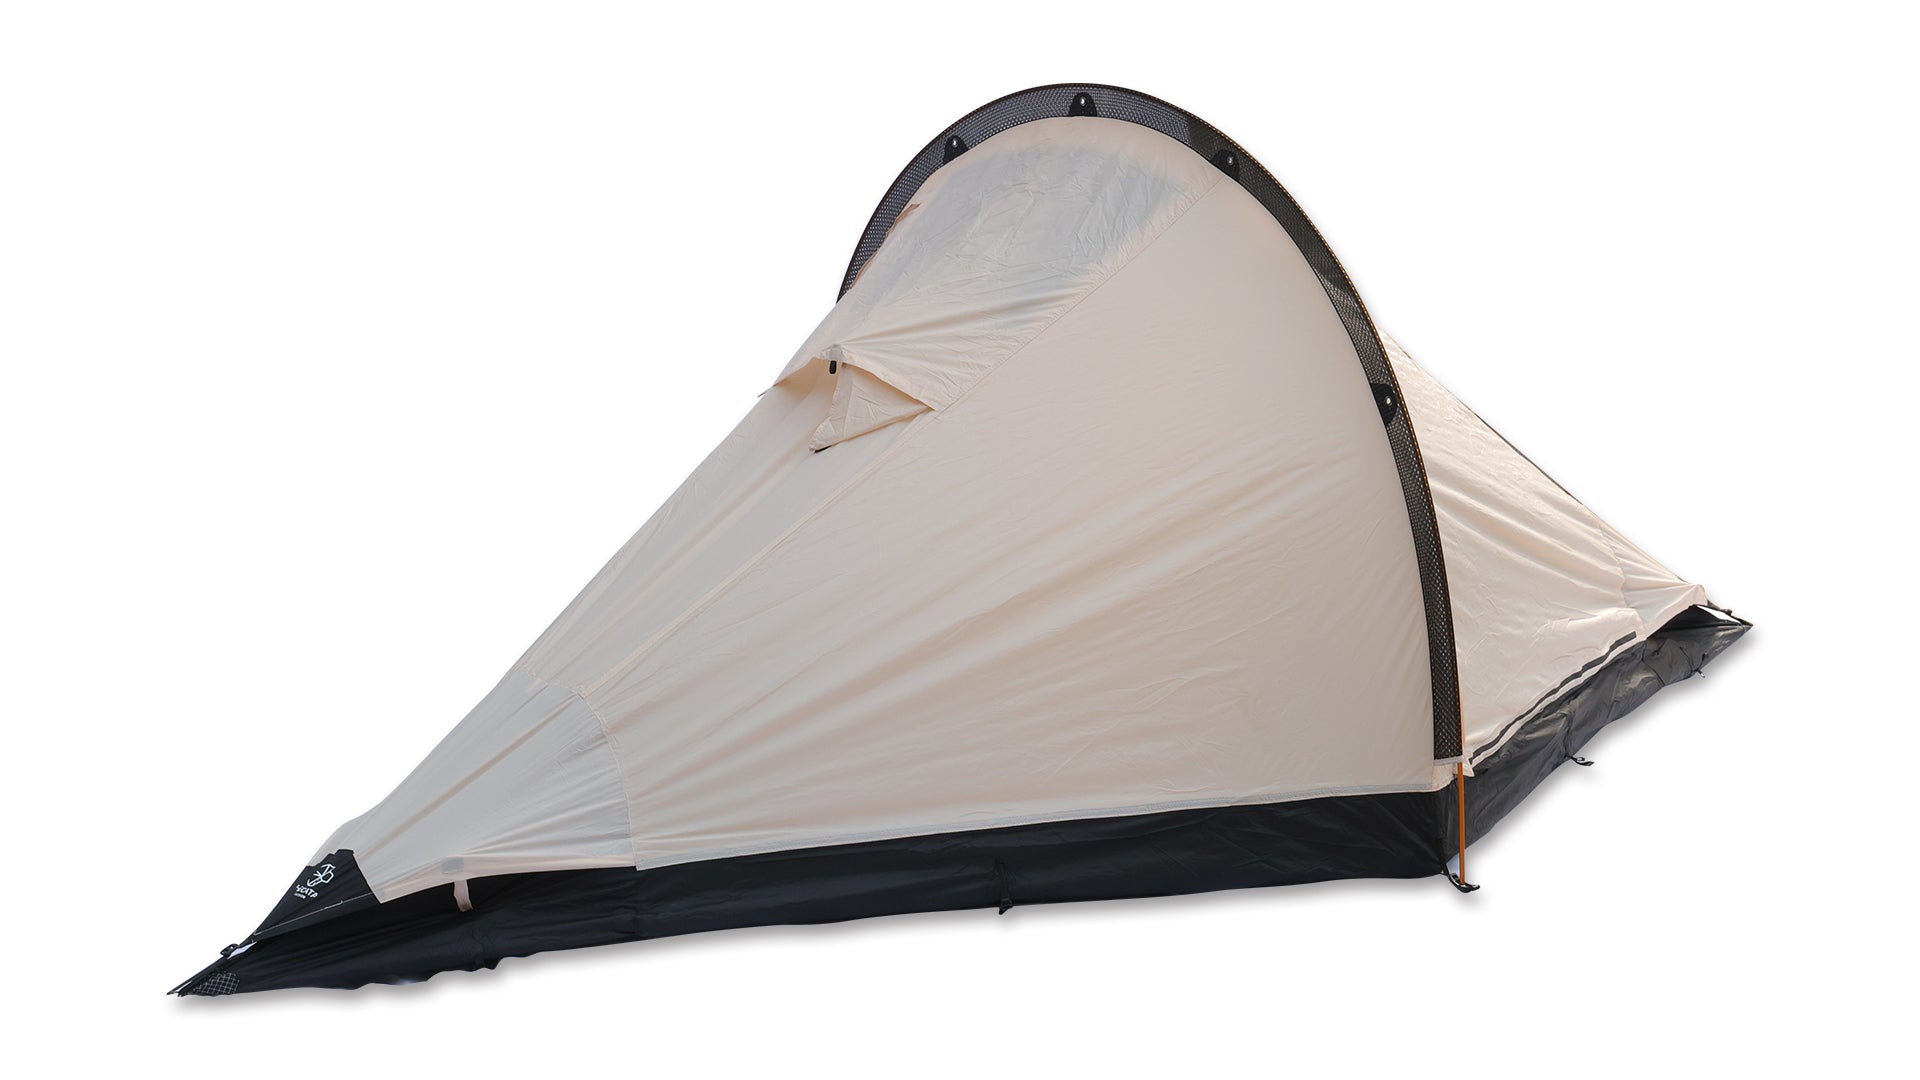
Freestanding tents: quick to pitch, easy to move off a wet spot, and forgiving of imperfect stakes. Non-freestanding (trail-style) often packs smaller and lighter but requires a flat, snag-free surface and time to tension properly. Single-wall shelters save weight and setup steps but demand more technique to manage moisture. Think of them like tools: each excels under certain conditions. Match the shelter’s strengths to where you hike most.
Weather performance and durability
Look at construction specifics, not marketing blurbs. Pole materials and joinery determine flex under wind; seam tape and fabric denier determine how long a shelter resists abrasion. A tent that feels delicate in strong gusts will make you bail on exposed campsites. Pay attention to real-world tests and user reports — a shelter rated for three-season use can still behave very differently in persistent wind versus steady rain.

Setup time and cognitive load
Pitch systems vary: simple pole layouts and color-coded clips reduce mistakes when you’re tired. Tarpaulin-style shelters and hammocks can be faster but might need trees or more careful site choice. When you’re comparing models, mimic the conditions you’ll face: wind, cold hands, fading light. The shelter that’s fast enough when you need it wins more nights.
Alternatives to a floor tent — when a hammock makes sense
Hammock systems and backpacking hammock tent solutions are legitimate alternatives. I’ve guided groups and learned lessons on long sections like the Appalachian Trail where switching to a backpacking hammock tent cut ground-site hunting and improved sleep under wet boughs. Hammocks excel where ground is rocky, muddy, or full of roots — but they demand tree-friendly sites and often extra insulation underneath. Compare those constraints to the weight and packability gains before deciding.
Common mistakes people make
Buying only on spec sheets. Assuming “ultralight” equals suitability. Ignoring setup practice. Overlooking ventilation and seam treatment. Don’t guess how a shelter performs in wind or condensation; practice pitching it at home and take short overnight tests. That’s cheaper than abandoning a campsite at midnight.
Final synthesis
Compare like-for-like: weight with pack volume, setup steps with site demands, and weather claims with user-tested reports. Balance the nights you’ll camp exposed against the miles you’ll walk. I’ve spent years testing shelters on long weekends and guided outings; the right pick makes the trip feel easy. For practical, tested options that match those trade-offs, see what THECATAL stocks and how their choices line up with these comparisons — you’ll know where compromise matters and where it doesn’t.
